Configuring SSH
Learn how to securely configure SSH access on your VPS for enhanced security and peace of mind.
Creating your key
SSH (Secure Shell) is the standard protocol for securely accessing remote servers. Properly configuring SSH on your VPS is essential for maintaining security and preventing unauthorized access. This guide will walk you through setting up secure SSH access using key-based authentication and hardening your SSH server configuration.
On Your Local Machine
- Open your terminal and generate a new SSH key pair:
-
When prompted, accept the default location or specify a custom path.
-
Optionally, add a passphrase for additional security.
Adding a Passphrase
By setting a passphrase, you have an additional layer of security on your ssh key however if you lose or forget your passphrase, you'll need to regenerate a new SSH key.
Add your Public Key to VPS Panel
Go to the directory you saved your SSH key to and copy the file ending in .pub. Make sure you copy your
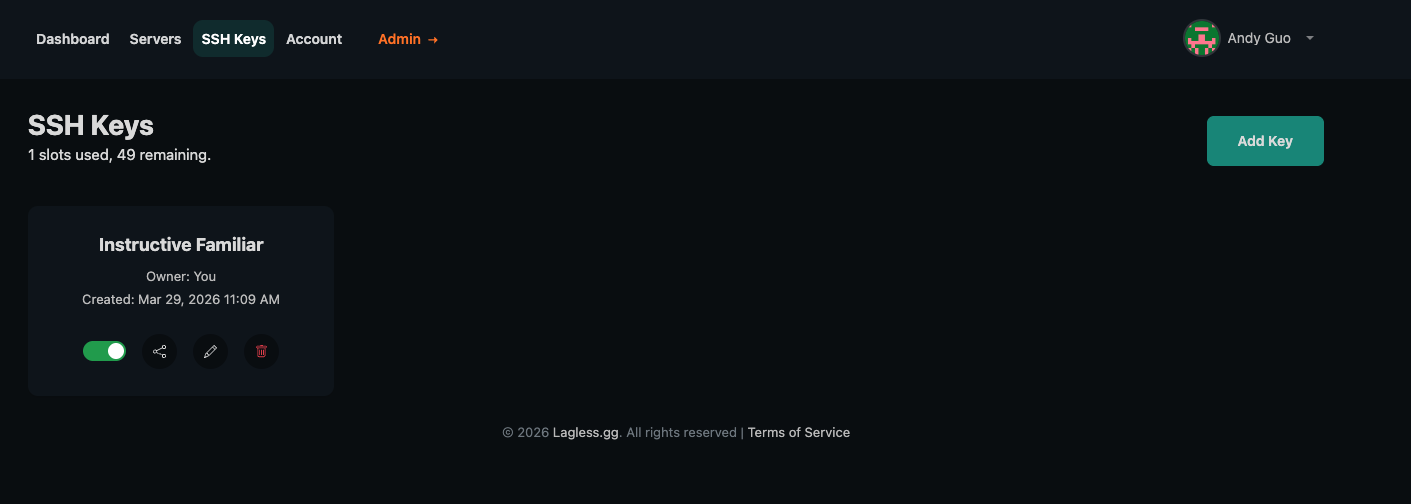
From your VPS Panel, select SSH Keys at the top then Add Key. Give your SSH key a name and paste the public key into the box then save.
Adding SSH key manually (on your own)
If you prefer not to use the panel or if you are working on an existing server, install the key directly into your account's authorized_keys file.
Method 1: Use ssh-copy-id
- Run this from your local machine:
-
Enter your password when prompted.
-
Verify login via key:
Method 2: Manual key deployment
- On your local computer, copy the public key content:
- Connect to your VPS using password auth first:
- On the VPS, ensure the SSH directory exists and has correct permissions:
- Append the public key to
authorized_keys:
- Test SSH login with key. After you ensure your key works, you can proceed to this next article on securing SSH on your machine.